
Introduction
“The best investment you can make is in tools that create leverage for yourself.” - Naval Ravikant
Have you ever wanted to try out different AI models without paying for multiple subscriptions? Or perhaps share access to these powerful tools with family members without breaking the bank?
I recently discovered a brilliant solution after watching a NetworkChuck video: using APIs for various LLM (Large Language Model) services and displaying them all in one interface through OpenWebUI. The best part? You can evaluate all these models with just $5 worth of API credits and share access with your entire family!
In this guide, I’ll walk you through how to set up your own AI playground with access to models like GPT-4, Claude, and more - all in one place.
What You’ll Build
By the end of this tutorial, you’ll have:
- A VPS (Virtual Private Server) running OpenWebUI
- LiteLLM set up to manage multiple AI model APIs
- A secure, custom domain with SSL encryption
- Access to multiple AI models through a single interface
- The ability to share this with family members
Prerequisites
- Basic familiarity with command line interfaces
- A credit card to purchase a VPS and domain (total cost approximately $5-10)
- API keys from the LLM providers you want to use
Let’s dive in!
Step 1: Setting Up Your VPS
First, we need to create a virtual private server to host our AI playground.
-
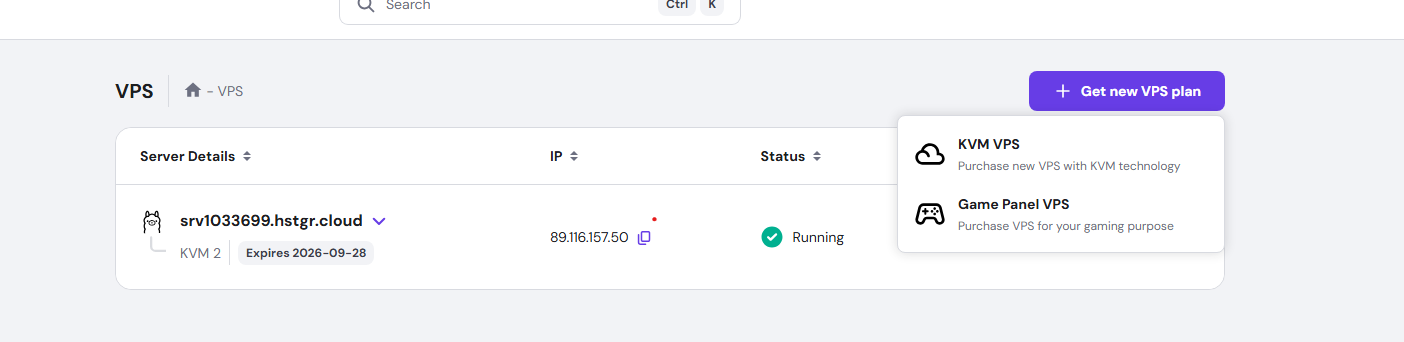
Sign up for a VPS service from Hostinger or any similar hosting provider
-
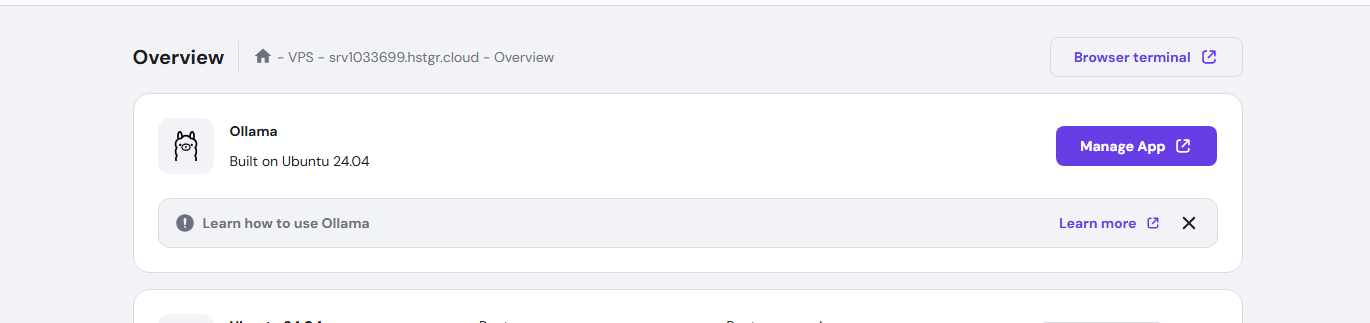
Select the Ollama application during setup (this comes with OpenWebUI pre-installed!)
-
During setup, you’ll be asked to create a password - make it strong and save it securely
-
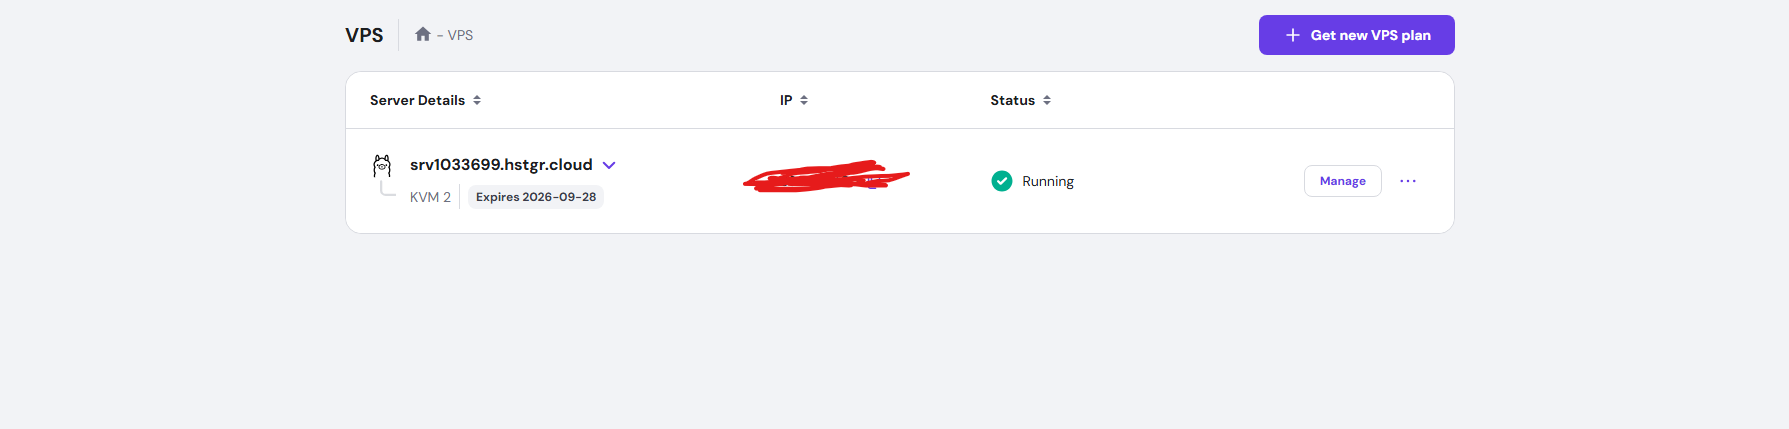
Once your VPS is created, note down its IP address (we’ll need this later)
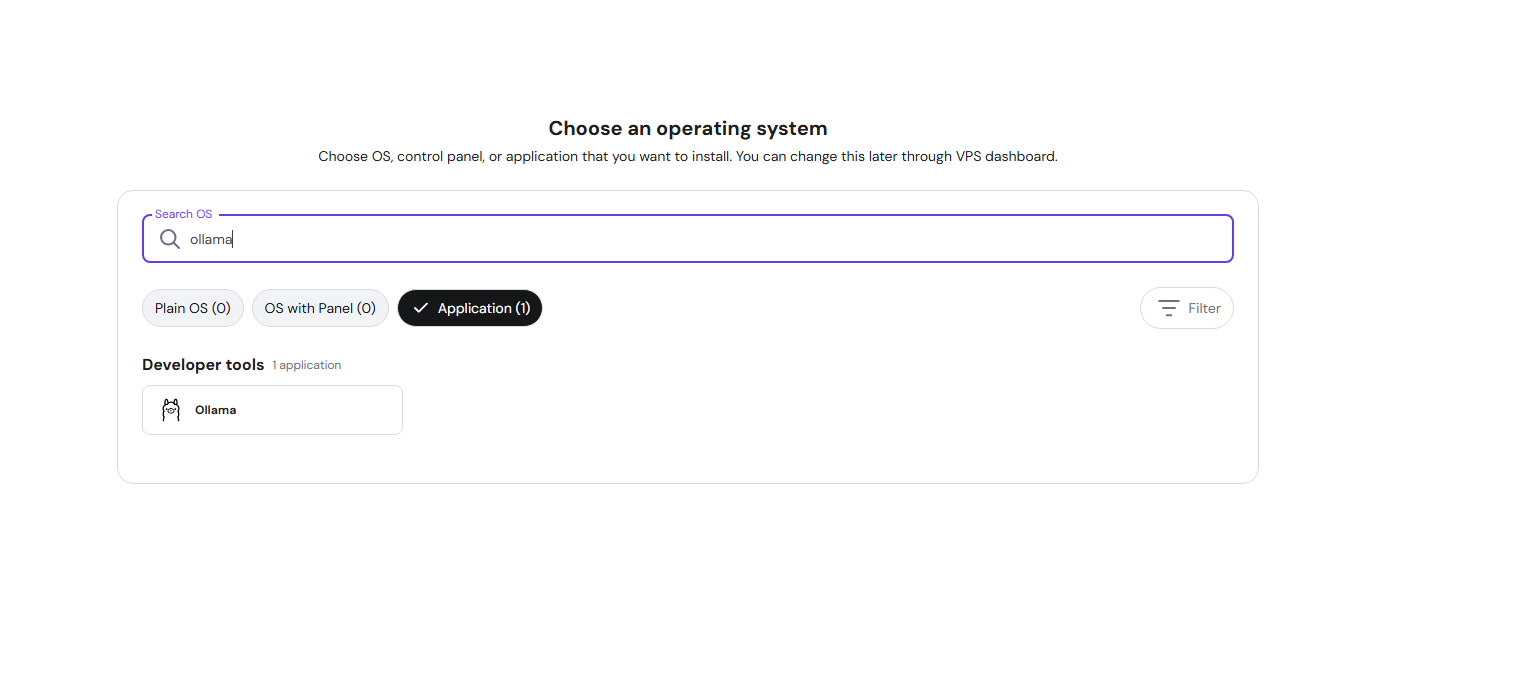
Pro Tip: By choosing the Ollama application during VPS setup, Hostinger automatically installs OpenWebUI for you, saving several steps in the process!
Step 2: Installing LiteLLM
LiteLLM is the secret sauce that lets us connect to multiple AI models using a single proxy. Let’s set it up:
-
Connect to your VPS via terminal:
ssh root@your-vps-ip-address -
Clone the LiteLLM repository:
git clone https://github.com/BerriAI/litellm -
Navigate to the LiteLLM directory:
cd litellm -
Create a
.envfile with the necessary security keys:echo 'LITELLM_MASTER_KEY="sk-1234"' > .env echo 'LITELLM_SALT_KEY="sk-1234"' >> .envSecurity Note: Replace “sk-1234” with your own secure keys. These keys secure your LiteLLM instance.
-
Launch LiteLLM using Docker:
docker-compose up -d

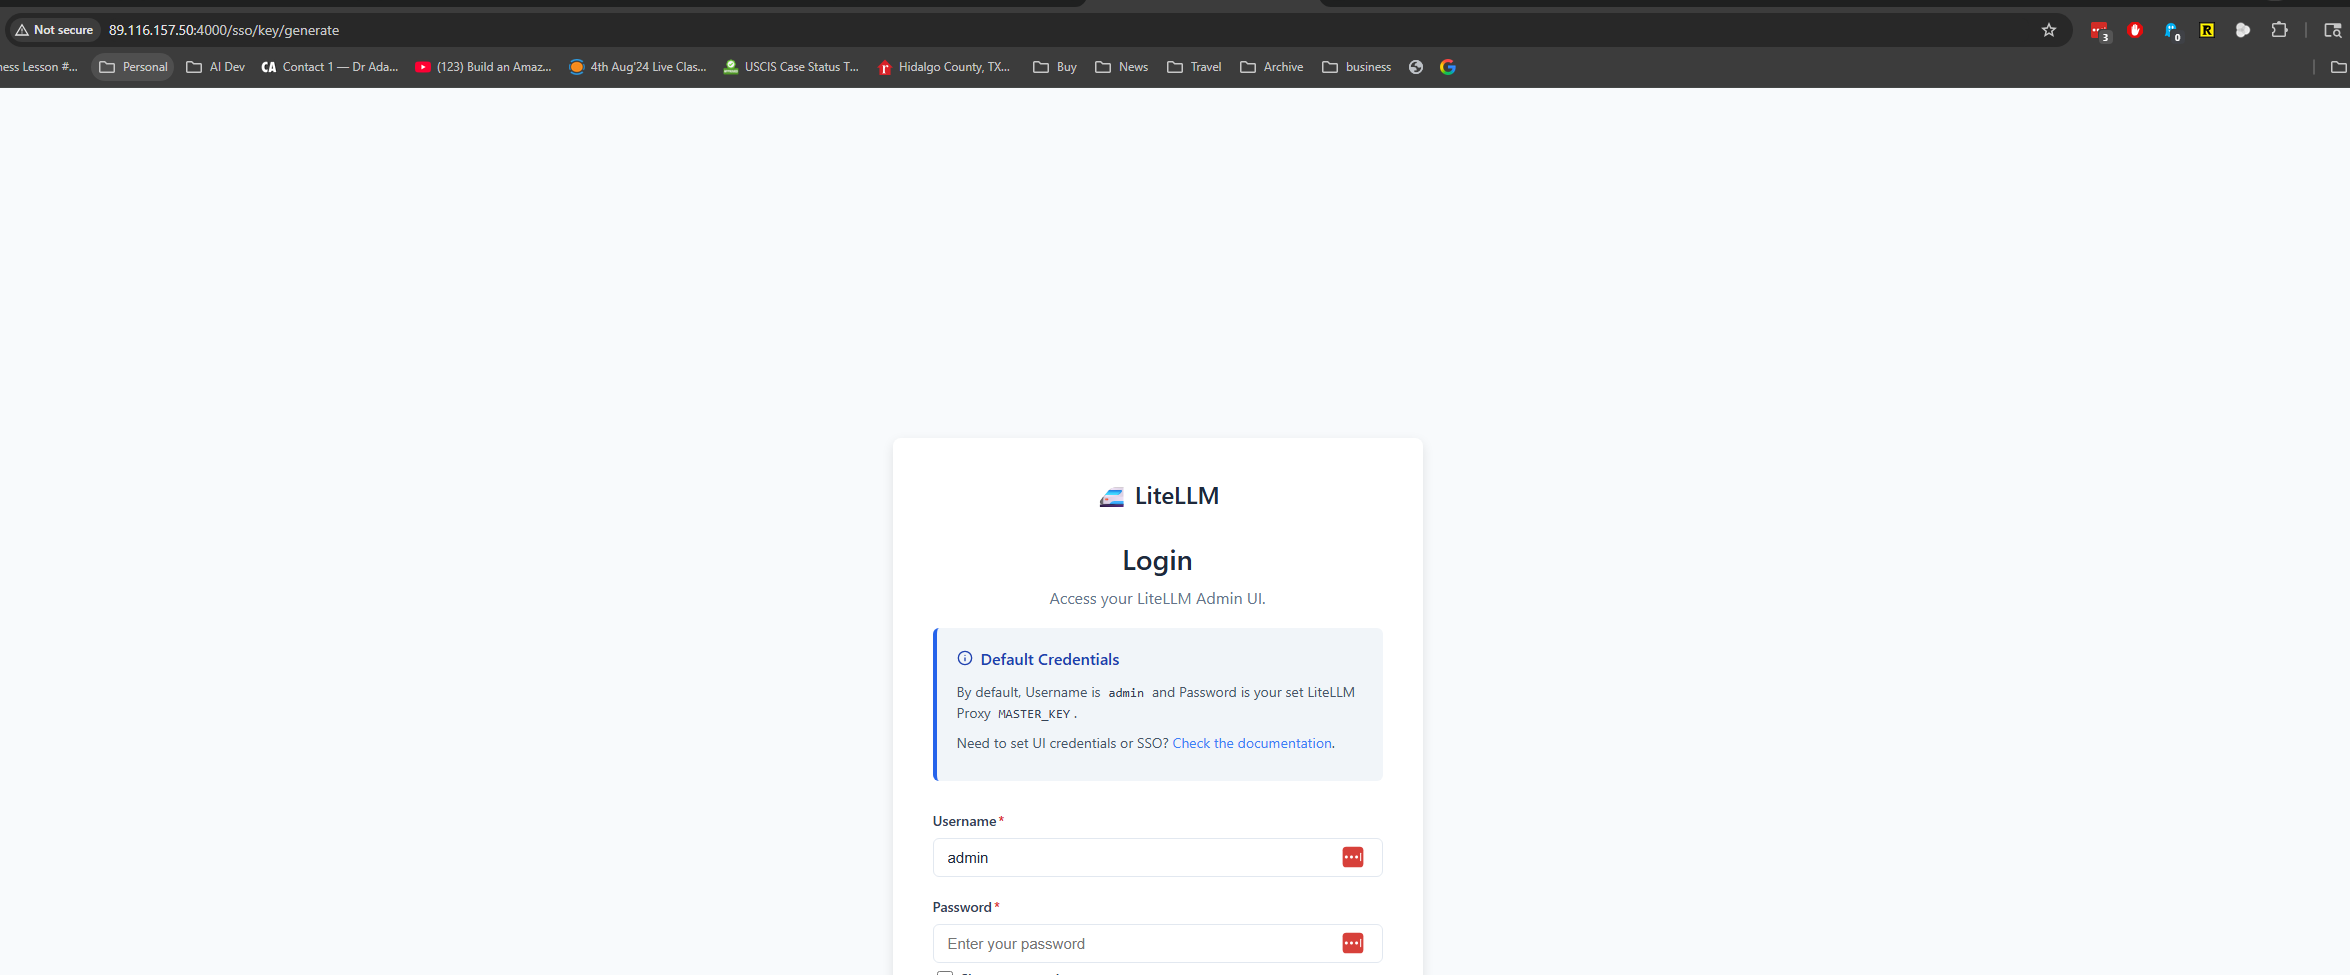
- Access the LiteLLM UI by navigating to your VPS IP address on port 81:
http://your-vps-ip:4000
Step 3: Gathering API Keys
Before proceeding, you’ll need to obtain API keys from the LLM providers you want to use:
- OpenAI (ChatGPT): https://platform.openai.com/api-keys
- Anthropic (Claude): https://console.anthropic.com/
- Mistral AI: https://mistral.ai/
- Other providers of your choice
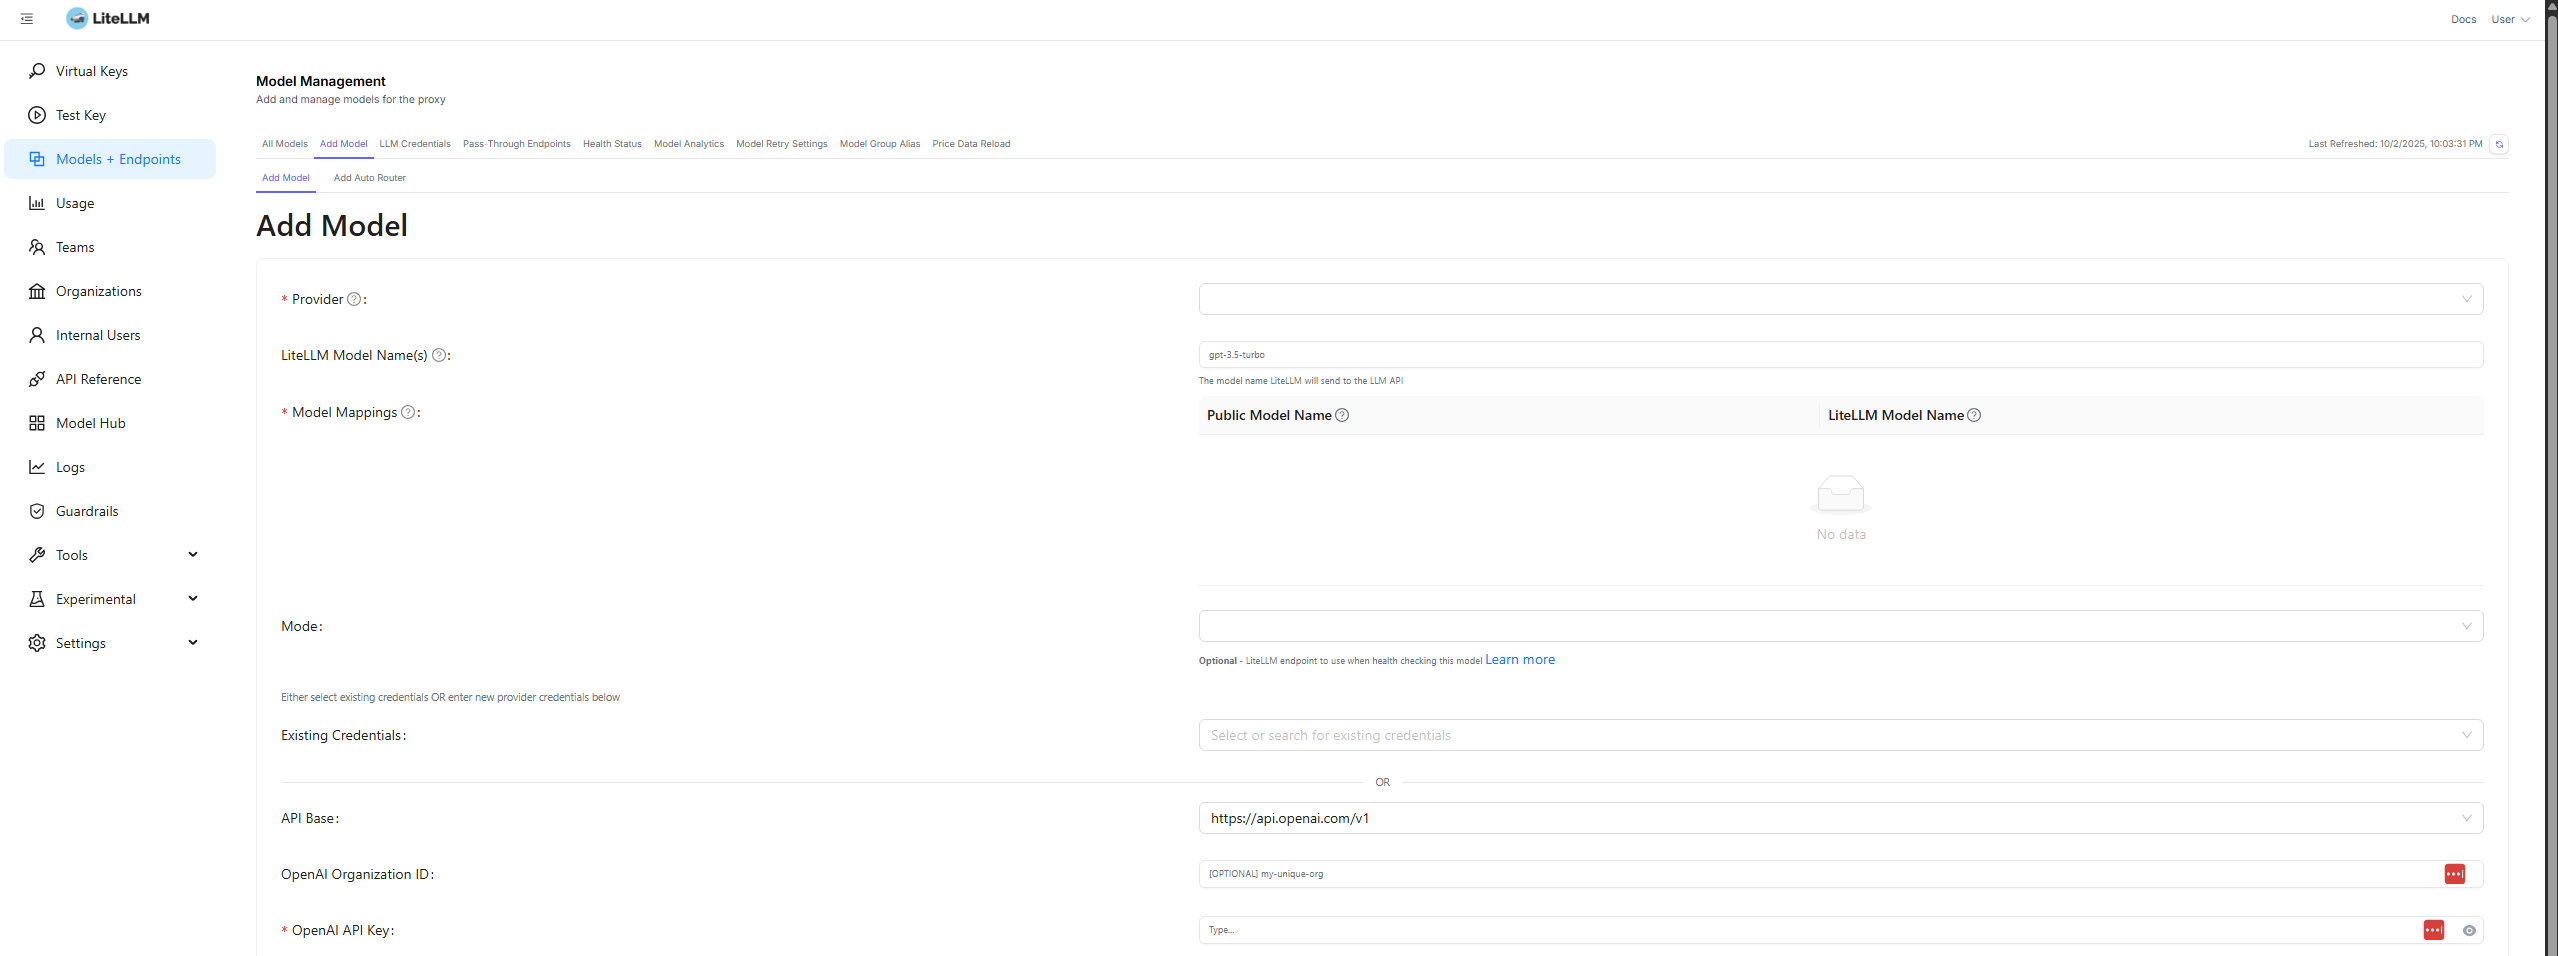
Step 4: Configuring LiteLLM Models
Now let’s add our API keys to LiteLLM:
-
Navigate to the LiteLLM dashboard (http://your-vps-ip:81)
-
Go to the “Models” section
-
Click “Add Model” for each LLM service you want to connect:
- Select the model provider (e.g., OpenAI, Anthropic)
- Enter the model name (e.g., gpt-4, claude-3-opus)
- Add your API key for that service
- Save the configuration
-
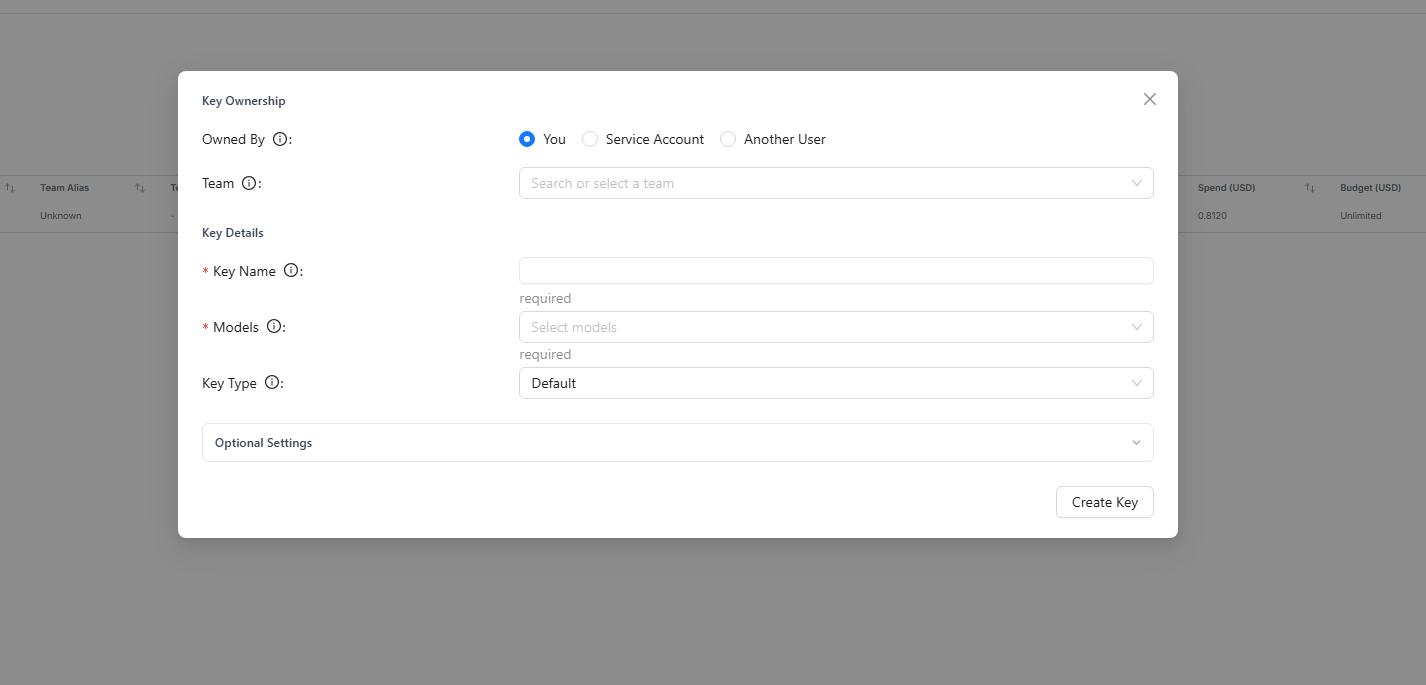
After adding all models, create a virtual key:
- Go to the “Virtual Keys” section
- Create a new key
- Grant access to all the models you’ve added
- Copy the generated virtual API key
Money-Saving Tip: Most providers offer free credits when you first sign up. OpenAI gives $5 in free credits, Anthropic offers free trial credits, etc. This is enough to thoroughly test various models before committing to any subscription!
Step 5: Connecting OpenWebUI to LiteLLM
Since you already have OpenWebUI running through the Ollama app on Hostinger, let’s connect it to our LiteLLM setup:
-
Navigate to OpenWebUI in your browser:
http://your-vps-ip:8080 -
In OpenWebUI settings:
- Go to “Connections”
- Add a new connection with URL:
http://localhost:4000 - Add your LiteLLM virtual API key
- Save the configuration
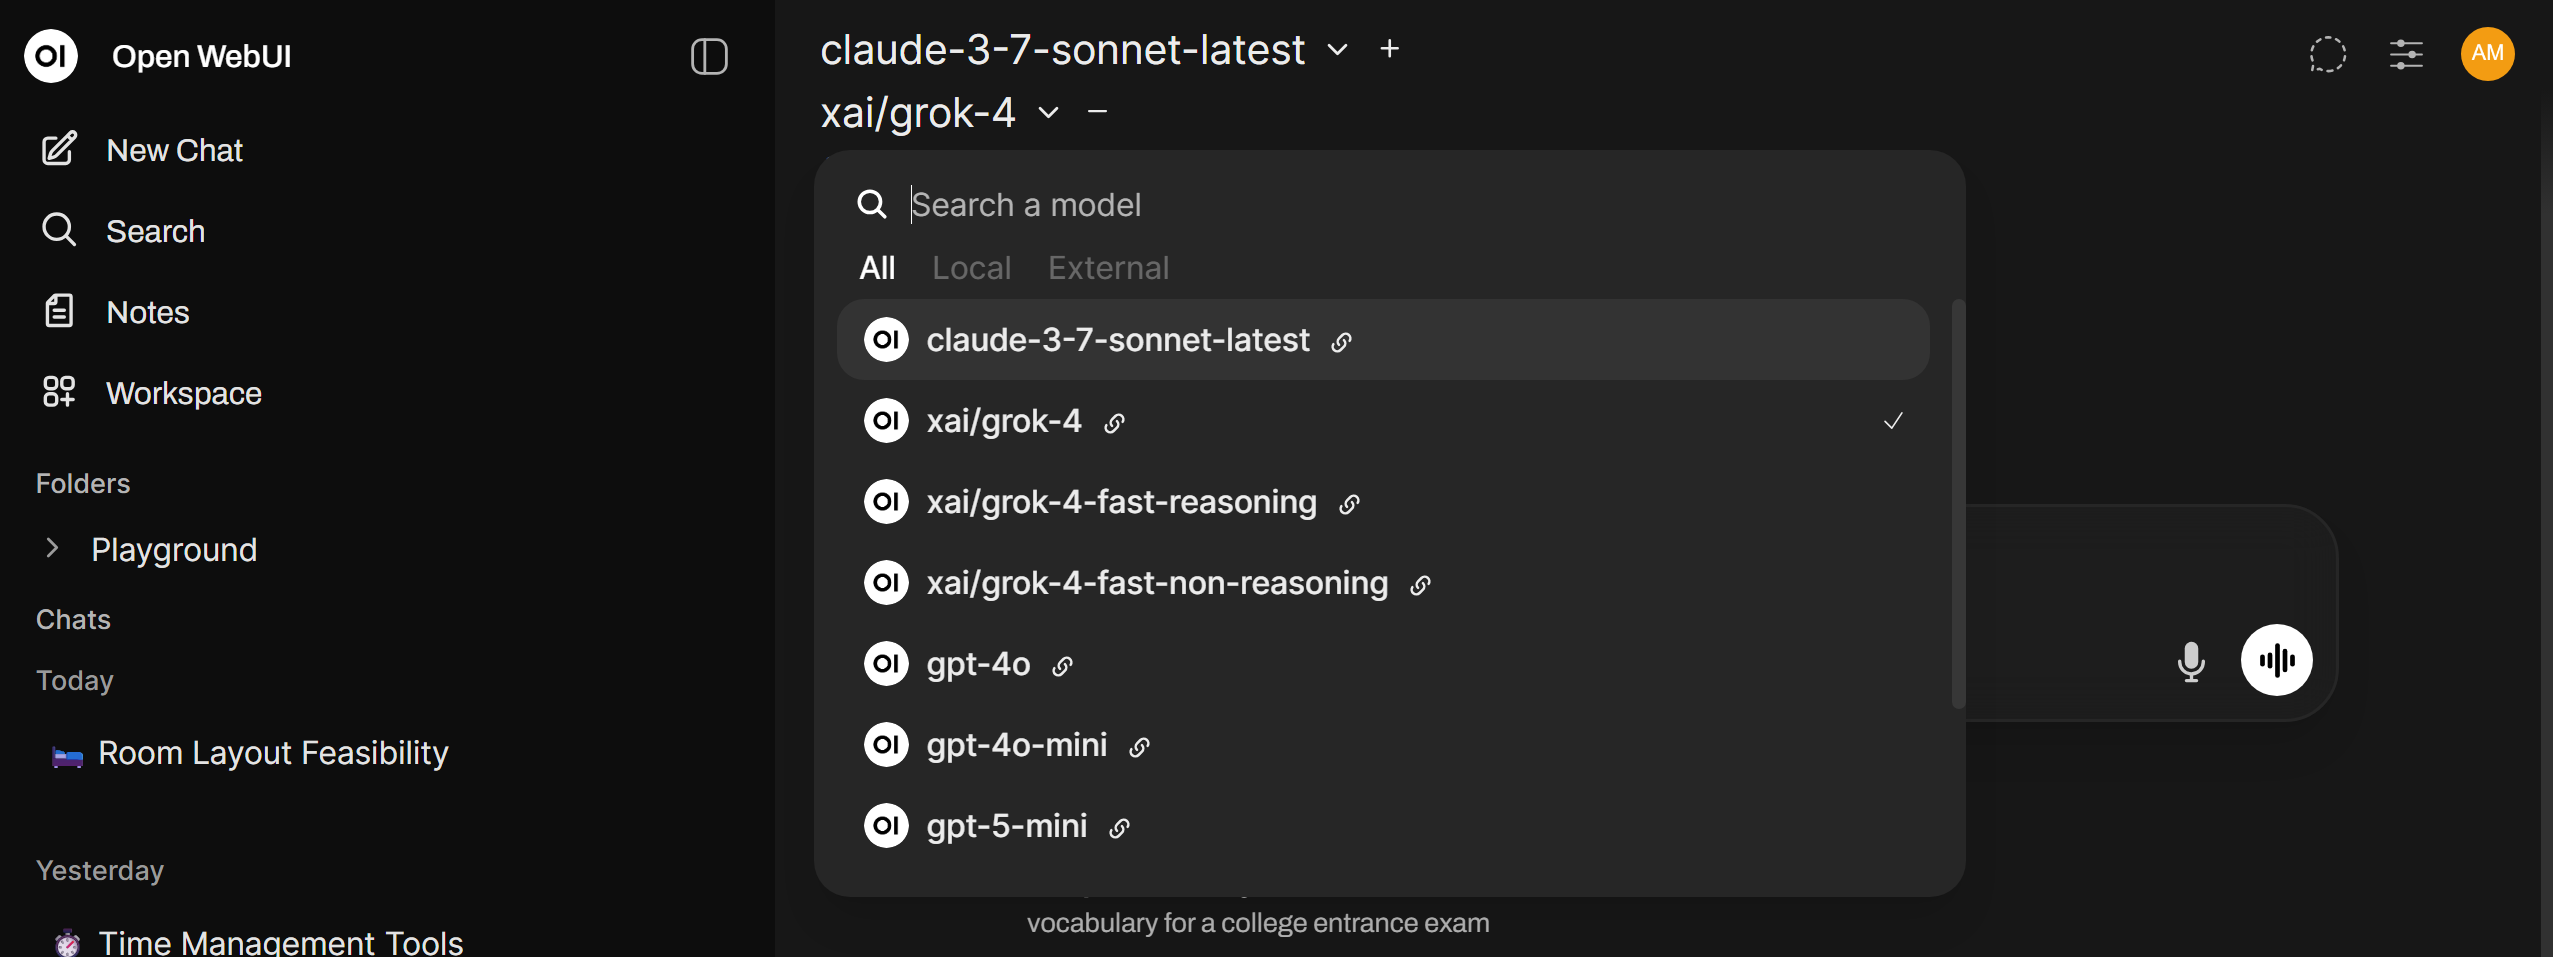
- Return to the chat interface and you should now see all your configured models available for selection!
Step 6: Adding a Custom Domain
Let’s make your AI playground easily accessible with a custom domain:
-
Purchase a domain from Hostinger or your preferred registrar
-
Set up Nginx Proxy Manager to handle domain routing:
git clone https://github.com/NginxProxyManager/nginx-proxy-manager -
Create a
docker-compose.ymlfile with the following content:services: app: image: 'docker.io/jc21/nginx-proxy-manager:latest' restart: unless-stopped ports: - '80:80' - '81:81' - '443:443' volumes: - ./data:/data - ./letsencrypt:/etc/letsencrypt -
Start Nginx Proxy Manager:
docker-compose up -d -
Access the Nginx Proxy Manager dashboard:
http://your-vps-ip:81(The default credentials are admin@example.com / changeme)
Step 7: Configuring Domain and SSL
Now let’s connect your domain and secure it with SSL:
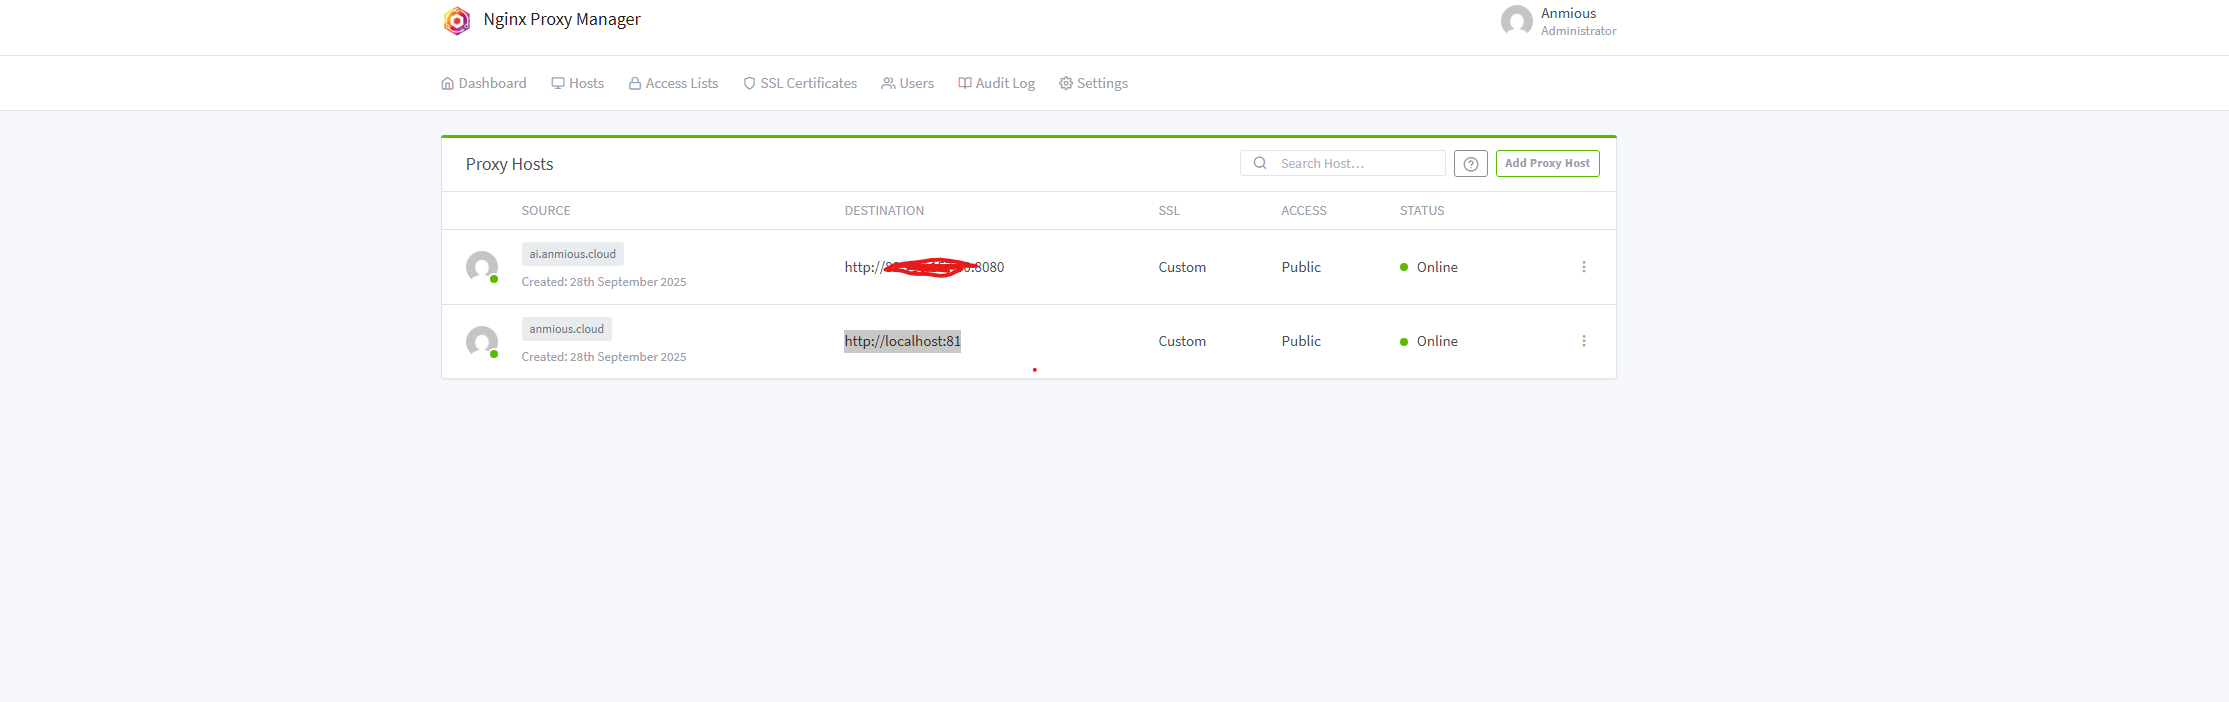
- In Nginx Proxy Manager, add two proxy hosts:
-
First proxy:
- Domain: yourdomain.com
- Forward to: your-vps-ip:8080 (OpenWebUI)
-
Second proxy:
- Domain: ai.yourdomain.com (subdomain)
- Forward to: your-vps-ip:80
-
-
Set up Cloudflare for your domain (optional but recommended for additional security):
- Create a Cloudflare account
- Add your domain to Cloudflare
- Copy Cloudflare’s nameservers
-
Update nameservers in Hostinger:
- Go to your domain settings
- Replace the default nameservers with Cloudflare’s
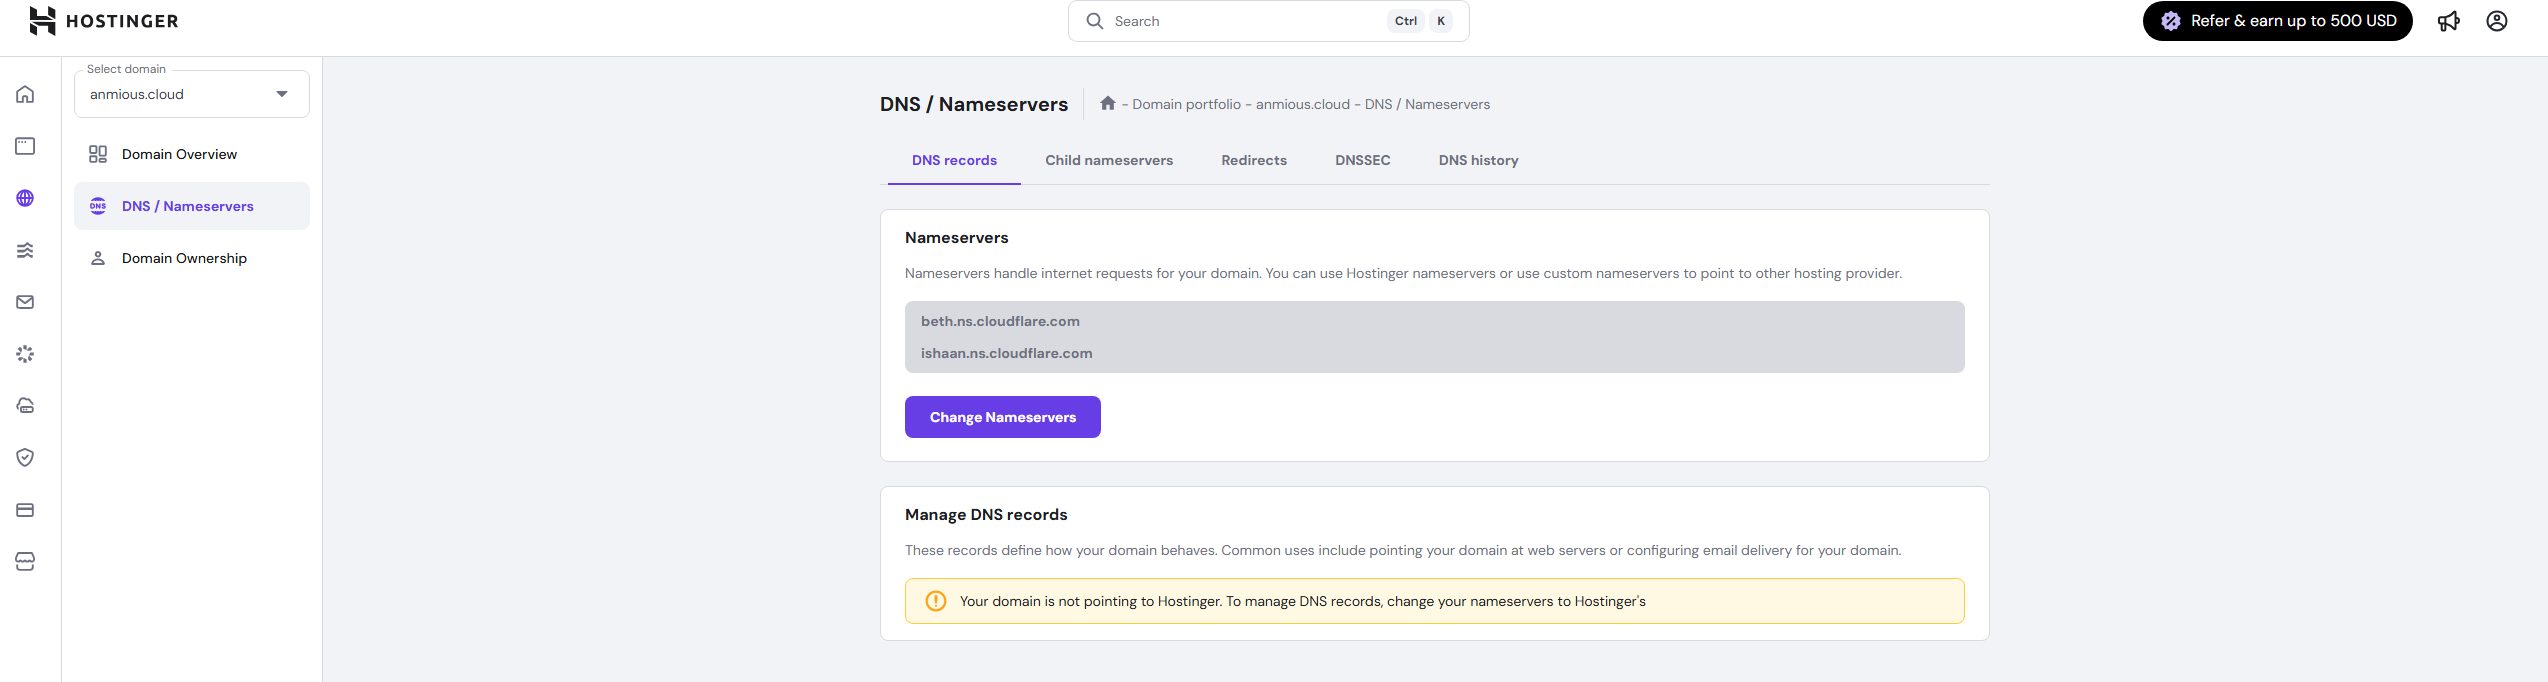
- Configure DNS in Cloudflare:
- Add an A record for the root domain (@) pointing to your VPS IP
- Add an A record for the subdomain (ai) pointing to your VPS IP

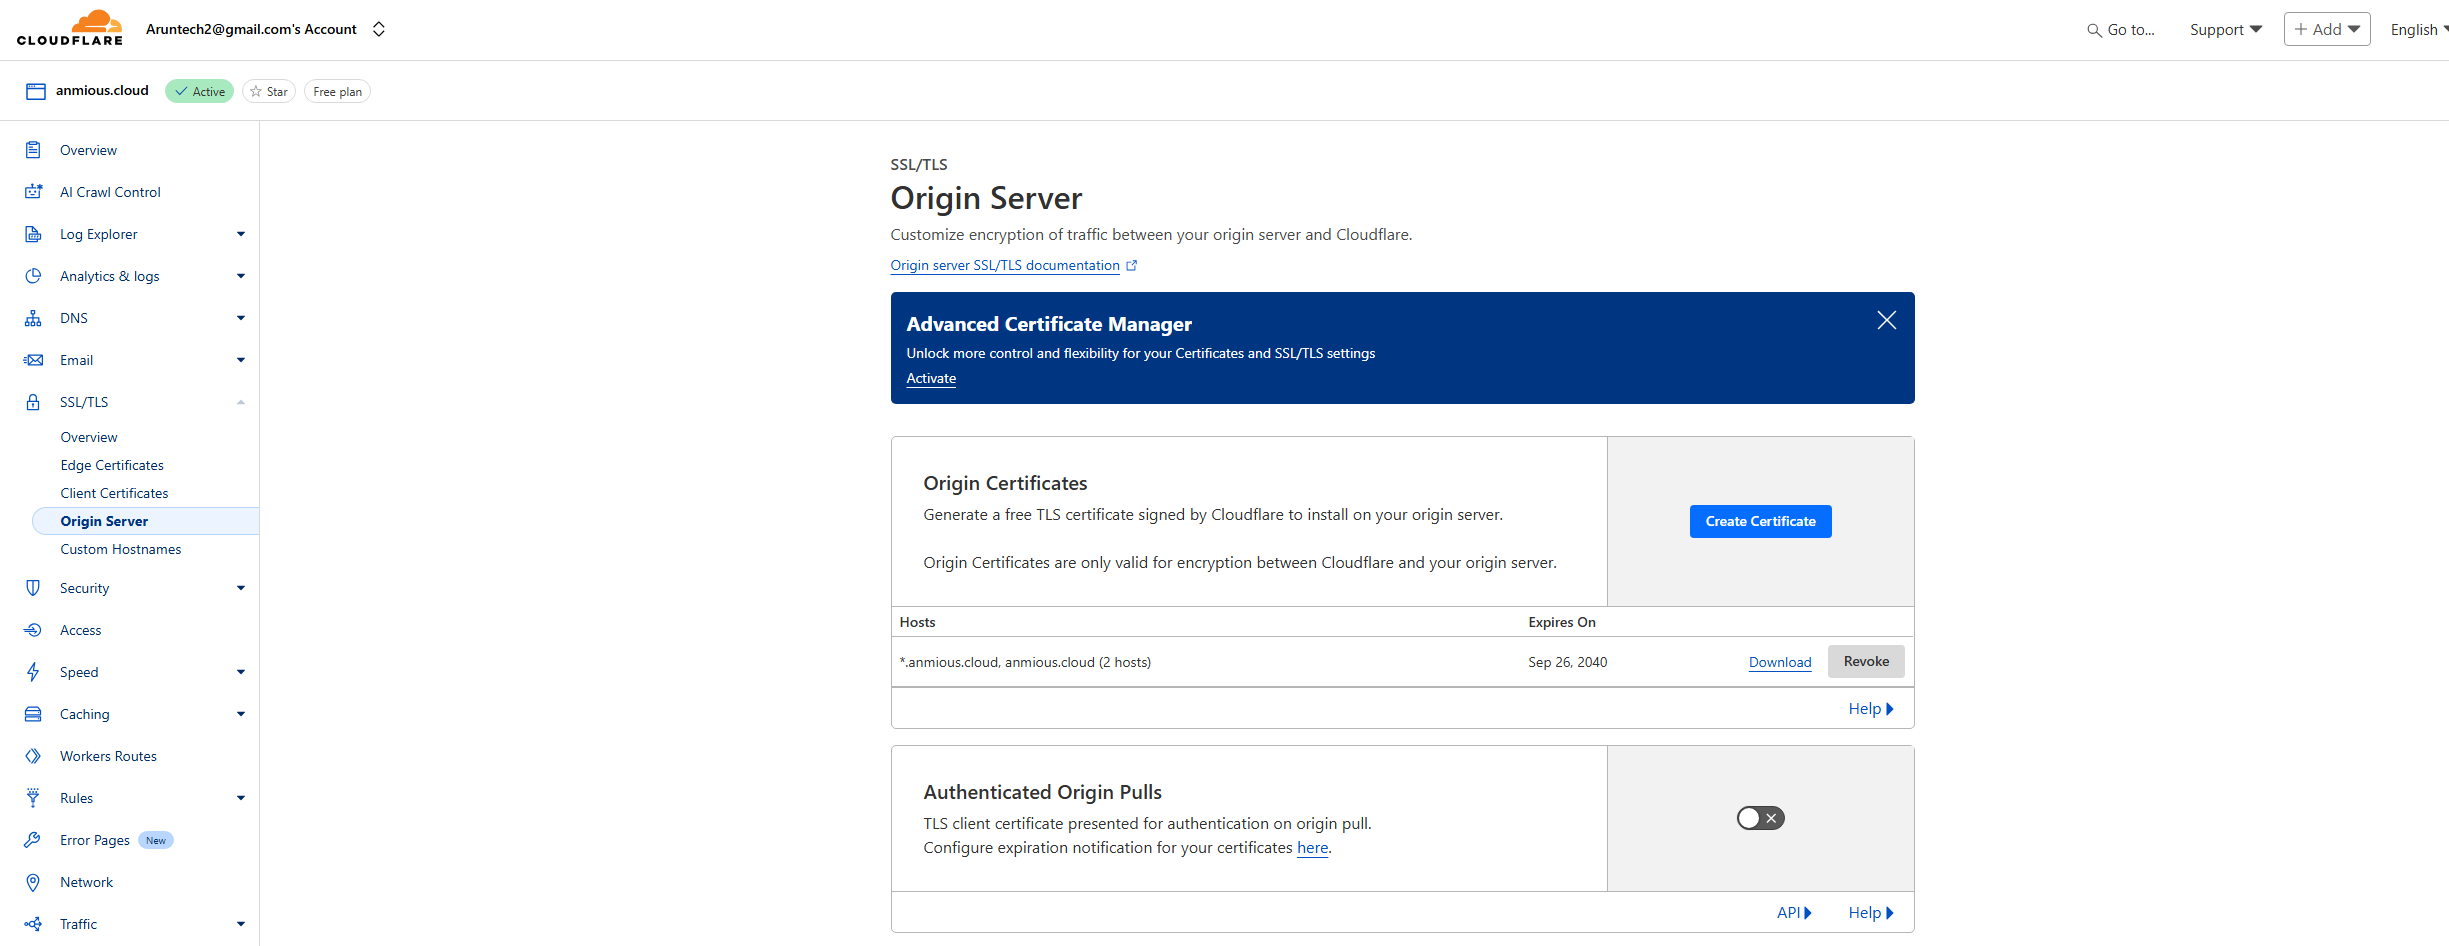
- Set up SSL certificates:
- In Cloudflare, go to SSL/TLS > Origin Server
- Create a new certificate
- Copy the certificate and private key
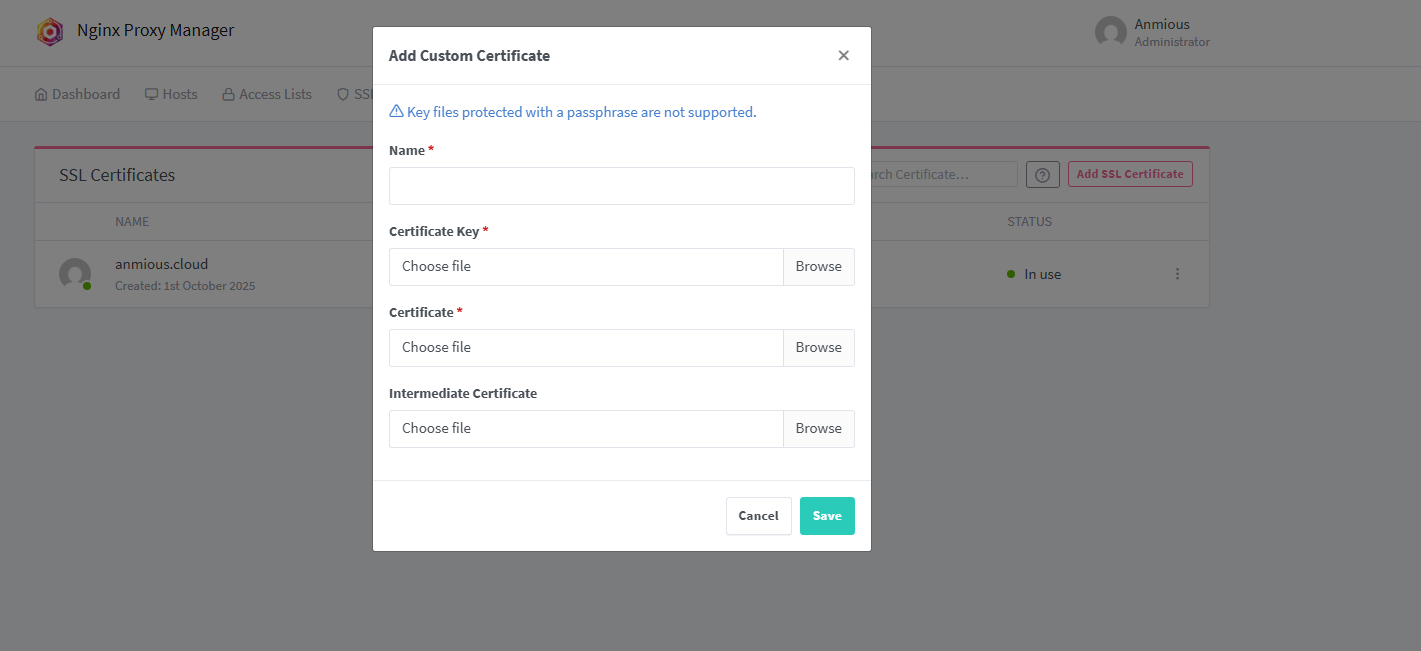
- In Nginx Proxy Manager:
- Go to SSL Certificates
- Add a custom SSL certificate
- Paste the certificate and key from Cloudflare
- Apply the SSL certificate to both proxy hosts:
- Edit each proxy host
- In the SSL tab, select your certificate
- Enable Force SSL
- Save changes

Final Result
Congratulations! You now have a professional AI playground at:
https://yourdomain.com
You can now:
- Chat with multiple AI models in one interface
- Share access with family members
- Compare responses across different models
- Save on subscription costs by using pay-as-you-go API credits
Why This Setup Is Amazing
-
Cost-Effective: Instead of paying for multiple AI subscriptions, you only pay for what you use via API calls.
-
Family-Friendly: Share powerful AI tools with your family without creating separate accounts.
-
Educational: Compare how different models respond to the same prompts - great for learning!
-
Customizable: Add or remove models as needed, customize the interface, and control access.
-
Privacy-Focused: Your conversations aren’t shared across different accounts.
“The future is already here – it’s just not evenly distributed.” - William Gibson
This setup democratizes access to the most powerful AI models available today, putting them at your fingertips without breaking the bank.
Troubleshooting Tips
- OpenWebUI not connecting to LiteLLM? Ensure your firewall allows connections on the required ports.
- SSL not working? Double-check your certificate installation in Nginx Proxy Manager.
- Models not appearing? Verify your API keys are correct and have sufficient credits remaining.
Have you set up your own AI playground? What models are you most excited to try? Let me know in the comments below!
Happy exploring!
#AI #LLM #SelfHosted #OpenWebUI #LiteLLM #TechTutorial #AIForFamily